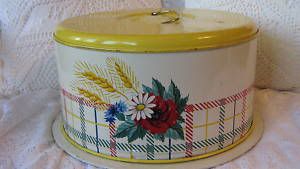
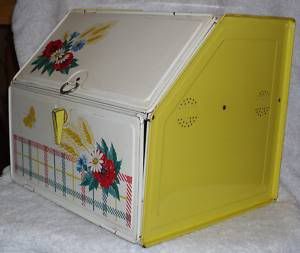
"Old-time farmhouse kitchens were actually miniature food processing factories, and so is the modern homestead kitchen. A major requirement is room-to work, and to store the many utensils and tools needed. There should be plenty of counter space or a sturdy table where the tomato strainer, cherry pitter, sausage grinder and similar tools can be used conveniently and comfortably.
Ventilation is more than a luxury, especially when grating horseradish or rendering lard. The ideal country kitchen has cross-ventilation.
As another aspect of space, the kitchen should be large enough so that even with dozens of quarts of newly-canned tomatoes on the countertop, the stovetop and sink cluttered with large kettles, strainers, funnels, baskets, rejects and skins, and other equipment, there is still room to make supper. What a shame it would be to spend a whole day canning to be self-sufficient, and then driving to a fast food chain to eat because there's no room in the kitchen!
Again, the chief requirement is room. If two or more people will be working together, they need room to move. The work surface should be large and sturdy enough to support a side of pork or a beef quarter, with enough room to store the numerous large pots and pans. In addition, it should be well-ventilated, well-lit, pleasant, and easily cleaned."
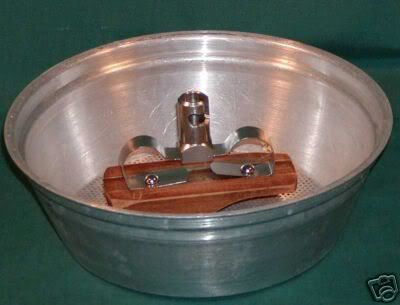
It is essential to have the proper equipment at hand when you are busy trying to preserve the fruits of your gardening labors. Case in point was the day I was trying to blanch tons of vegetables and was having lots of problems. The 9qt or so steamer/blancher I was using was just too durn small!
I had bushels of collards, turnip, spinach and lots of other greens to blanch and it was taking forever!
I had a bright idea when I looked at a 20 quart commercial Vollrath double boiler one day. The one I had, had two boiler inserts and one had a pin prick hole. I picked the one with the hole up, and took it to a metal fabricator near my girlfriend's house.
After a week, and $25 later, I had what I wanted. They had cut a pattern of holes in my insert just like my blanching insert!
The next time I had to blanch loads of veggies I was ready.
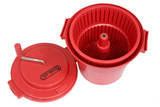
And I was looking for something to help me wash all those veggies and greens without getting water all over the kitchen. So when I happened upon this hand crank restaurant salad dryer I lost my mind and had to have it.
I can sit on the porch with a water hose and run water over the veggies in the basket. Then I just crank the handle and the veggies get washed. I pull out the strainer with the veggies inside, and if I have to I pour out the water from the bucket and wash them again. Ingenious!
I have talked about the Farberware Convection Turbo Oven before, but now is where it comes in handy as a food dehydrator. It really does a super job and I love home dehydrated pineapple!
The Robot Coupe R2 is my go to machine for when I am slicing a bushel of cucumbers for pickles, or shredding cabbage for sauerkraut, or processing a bucket of tomatoes to make tomato sauce.
The next best thing to a food processor is the vintage Kitchenaid pelican food slicer/shredder. It is a hub attachment for your Kitchenaid or Hobart N-50 mixer that will save you hours when processing food for storage.
A food mill or colander and sieve will take the work out of making smooth seedless tomato sauce, or blackberry puree and this is the ones for your 5qt narrow bowl Kitchenaid, or your Hobart N-50 mixer.
If you love peas, shelling a bushel or so will be your lot sometime in life. The Kitchenaid pea sheller attachment will shell your peas, or your dry beans without causing you misery.
I think the Champion Juicer is the best all around small batch juicer on the market. The motor is incredible and it does a good job with almost any fruit or vegetable. And the optional grain mill is one of the best available.
Steam juicer
http://www.lehmans.com/store/article/1339?Args=
I bought one of these beauties in the late 1970s. I had planted a hedge of bush cherries around my tiny front yard. Within 2 years the cherry hedge was producing incredible amounts of fruit! I was being drowned in cherries!
Within a short period of time, and with only a minimum amount of work on my part, I was able to turn all those cherries into gallons of cherry juice. Then I began to experiment and make cherry wine -- but that's another story!
This juicer is still my go to gadget when I get a large amount of fruit or berries to process.
Mehu-Liisa Steam Juicers offers the high quality 18/10 stainless steel
craftsmanship and superior design which makes gallons of 100 percent pure fresh
juice and steam cook complete meals. A gentle steam process is used to open the
juice cells in fruit, then the juice falls in the juice kettel. The 10 liter
size has a 10.6 quart steamer basket for making larger batches of juice from
fruits and berries and steam cook complete meals. Mehu-Liisa Steam Juicer is
simple to use and economical. Non electrical. No hard work. No stemming. No
peeling. The aluminum clad bottom pan can be used as a roaster and soup pot too. Includes a steam
juicer and steam cooking recipe book.
How much fruit to put in basket? I would put at least half a basket full of fruit otherwise it isn't very efficient to heat up all the water for such a small amount. One way to work with small fruits which don't necessarily come in great quantities is to freeze them as you acquire them. Then, when you are ready to steam, put the frozen fruit (I freeze in quart or gallon size bags) in the basket and process. No need to thaw. Also, you can add these tasty little gems to other fruit like peaches, pears and apples, and white grapes to create wonderful fruit blend juices.
Just attach the tube to the spout using a drop or two of vegetable oil if you want to remove after processing. It is not necessary to remove the tube in order to clean though. When draining juice use gloves (I use the standard engineer canvas and leather gloves that are available in hardware stores for about $5 pair). Hold your sterile jar (20 minutes in 250 degree oven) in a heat proof pitcher or a sauce pan with handle and direct the hose into the jar. Squeeze the clamp splines together to release the juice. Be careful not to overfill. Sometimes, you will need the help of another person to tip the juicer a bit to get the last few drops. When jar is full, put lid on and screw down finger tight (that is not too tight). Let jars cool and they will vacuum seal. For optimum safety, water bath process the jars for 5 minutes after filling.
I also have a Mehu-Maiija, but I prefer the Mehu-Liisa.
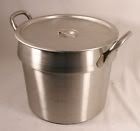
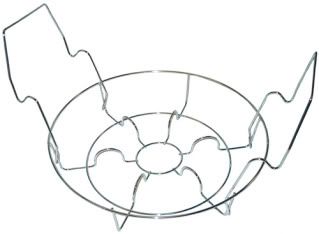
I use a 24qt Vollrath aluminum clad bottom Classic stainless steel stockpot for my water bath canner, and it works perfectly with a standard jar rack and jars.
Stainless steel jar rack
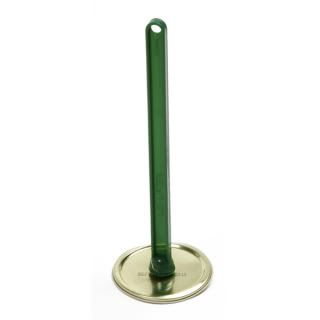
Magnetic lid wand
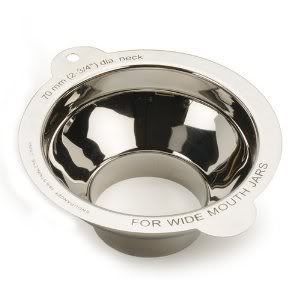
Wide mouth stainless steel canning funnel
Jar lifter
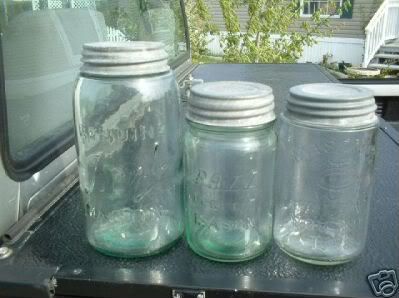
Canning jars
Canning jar lids
I have my mother's old pressure canner but I have yet to use it. I have visions of blowing the house up! But I know in time, I will try it. Mom fearlessly used it for her canning and I want to carry on the tradition.
CANNING 101
http://www.lehmans.com/store/article/1388?Args=
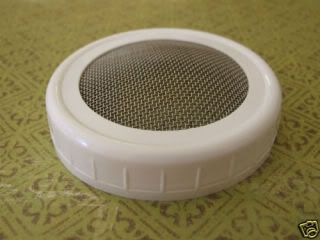
Stainless steel mesh sprouting jar lid
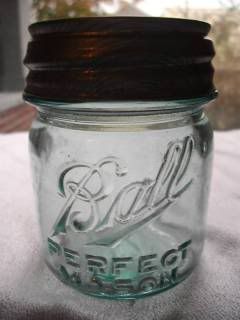
Vintage canning jar added to the above lid makes a sprouting jar.
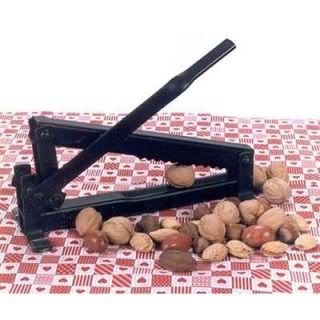
Lever nutcracker
What do you do when you need to wash a basket of carrots, or green peppers, or whatever you are harvesting from your garden? You reach for a large colander, that's what. I chose mine from a used restaurant supply store in the heaviest gauge they had.
And the handy ACME cherry pitter will take care of your pitting problems.